Unlocking the Potential of Old Computer Cases
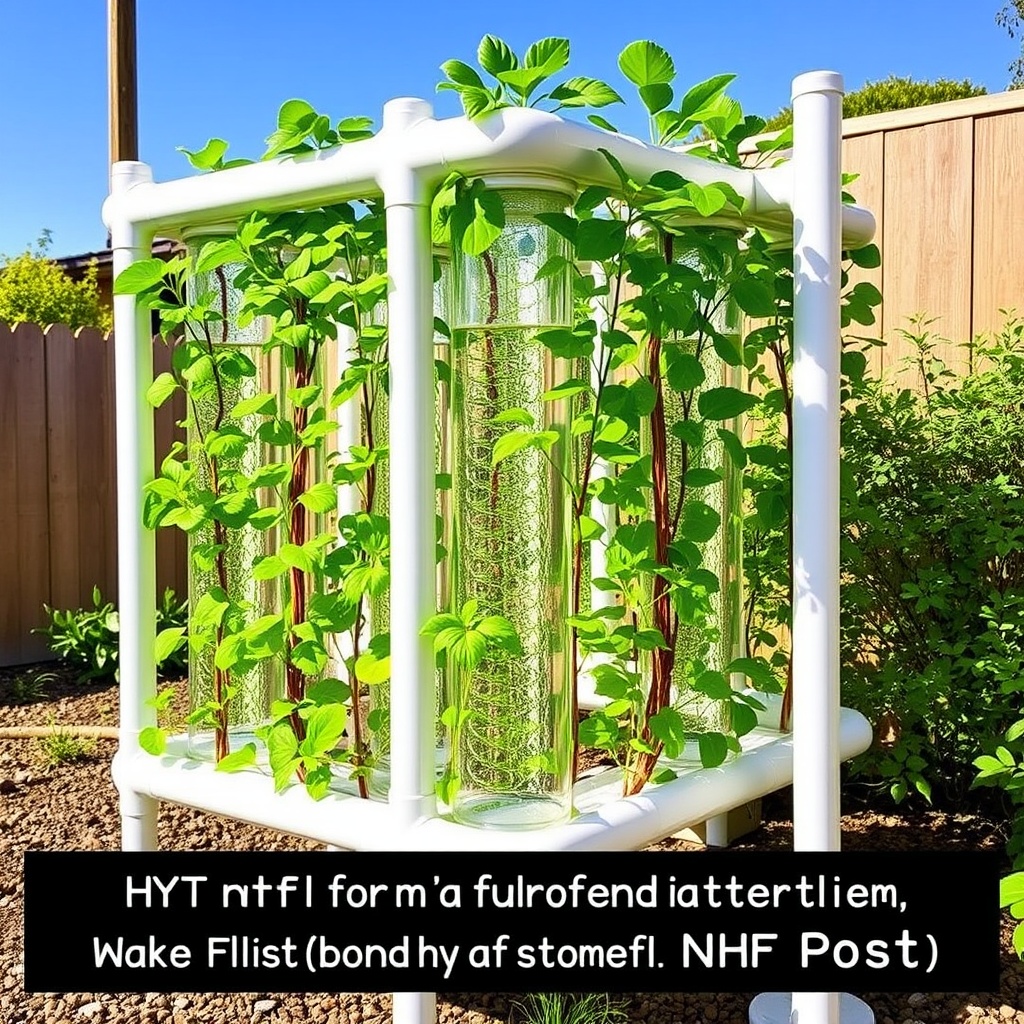
Are you tired of looking at those obsolete computer cases collecting dust in your basement? Instead of tossing them out, why not transform them into a high-tech hydroponic garden? Hydroponics is an innovative method of growing plants without soil, and utilizing old computer cases is a sustainable way to create your own system. Not only will you be repurposing waste, but you’ll also have a fun project that yields fresh herbs and veggies right at home!
The Step-by-Step Guide to Building Your Hydroponic System
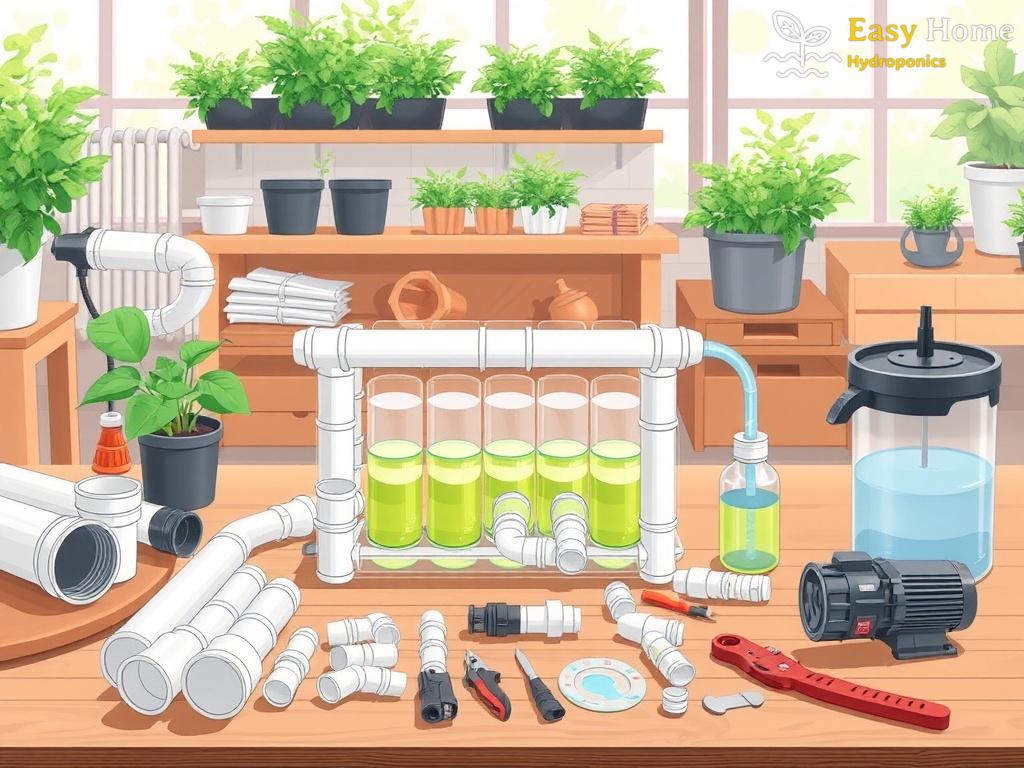
Building a DIY hydroponic system can seem daunting, but with the right tools and materials, it can be a rewarding experience. Below is a comprehensive list of steps to help you along the way:
- Gather Your Materials: Old computer case, net pots, hydroponic nutrient solution, a water pump, air pump, air stone, tubing, and a growing medium (like clay pellets).
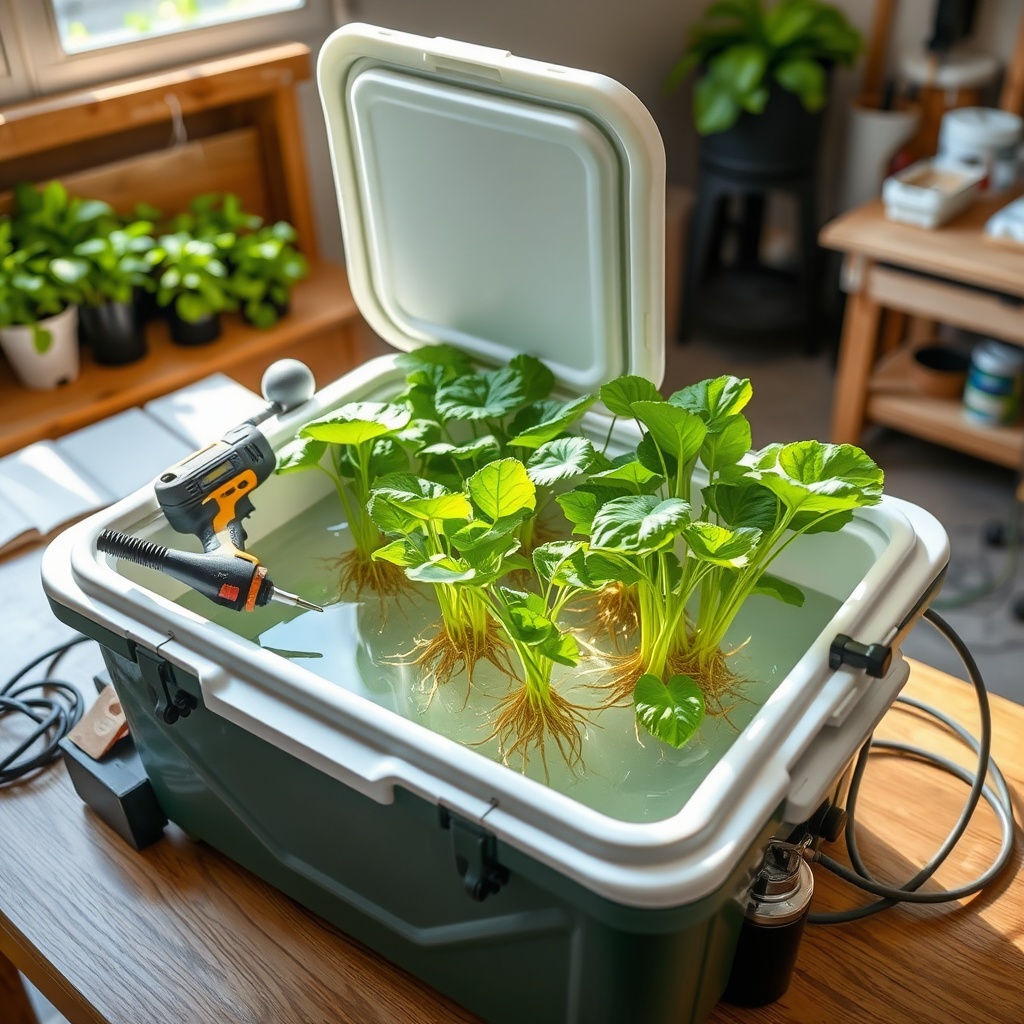
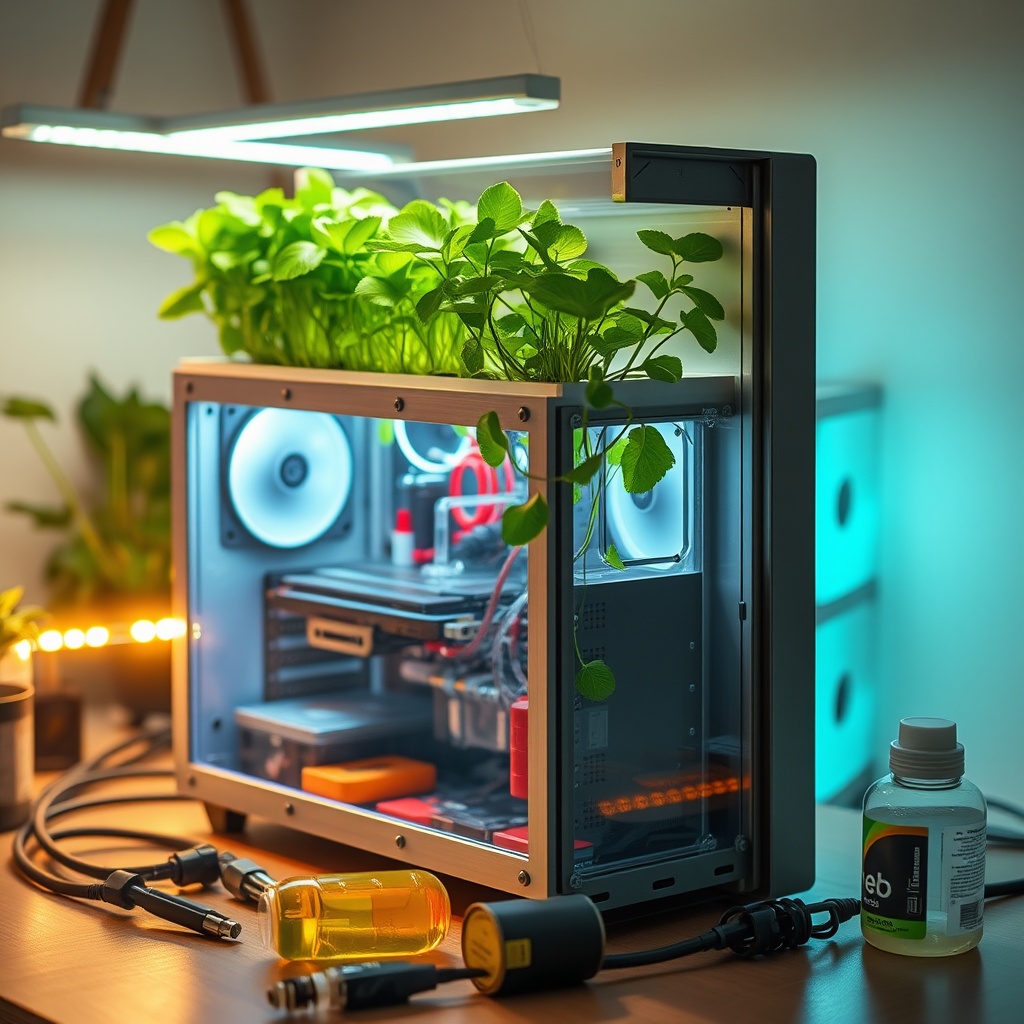
- Prepare the Computer Case: Clean the case thoroughly and ensure it is free of any electronic components. You’ll want to create a reservoir for water, so cut a section if necessary.
- Install the Net Pots: Cut holes in the top of the computer case to fit your net pots snugly. This is where your plants will grow.
- Set Up the Water System: Position the water pump inside the reservoir and connect it to the net pots with tubing. Make sure to include an air stone connected to an air pump for oxygenation.
- Add Nutrients: Fill the reservoir with water and mix in the hydroponic nutrient solution according to the instructions. This will provide your plants the necessary nutrients.
- Plant Your Seeds: Place your chosen seeds or seedlings in the net pots filled with the growing medium.
- Monitor & Maintain: Regularly check water levels, nutrient concentrations, and plant health. Adjust the lighting and ensure the system operates smoothly.
Benefits of a Hydroponic System in Computer Cases
Beyond the satisfaction of building something with your hands, a hydroponic system made from a computer case offers numerous benefits. Here are a few reasons to consider this green project:
- Space-Efficient: A compact hydroponic system can fit in tight spaces, making it perfect for apartments or small homes.
- Environmentally Friendly: Repurposing old tech reduces waste and promotes sustainable living.
- Fresh Produce: Enjoy the luxury of home-grown herbs and vegetables, which are always fresher and more flavorful than store-bought options.