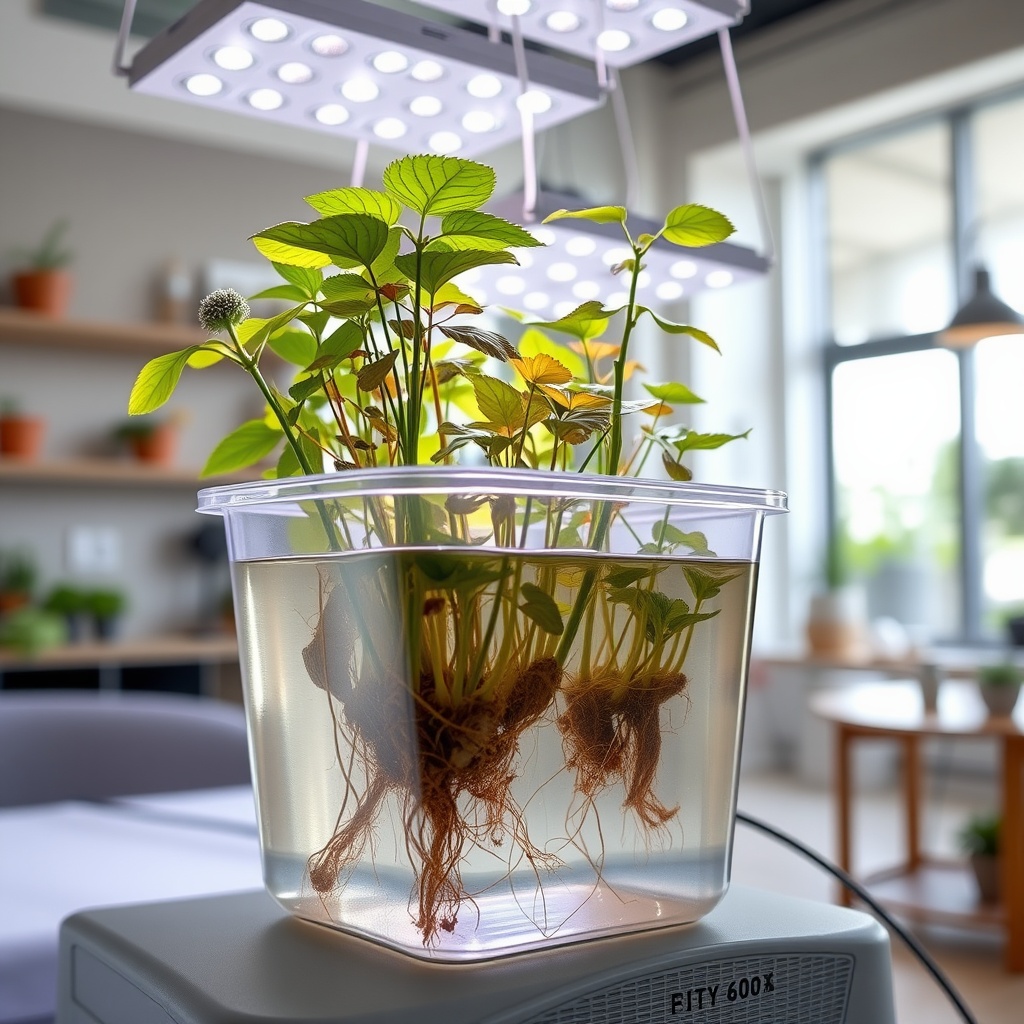
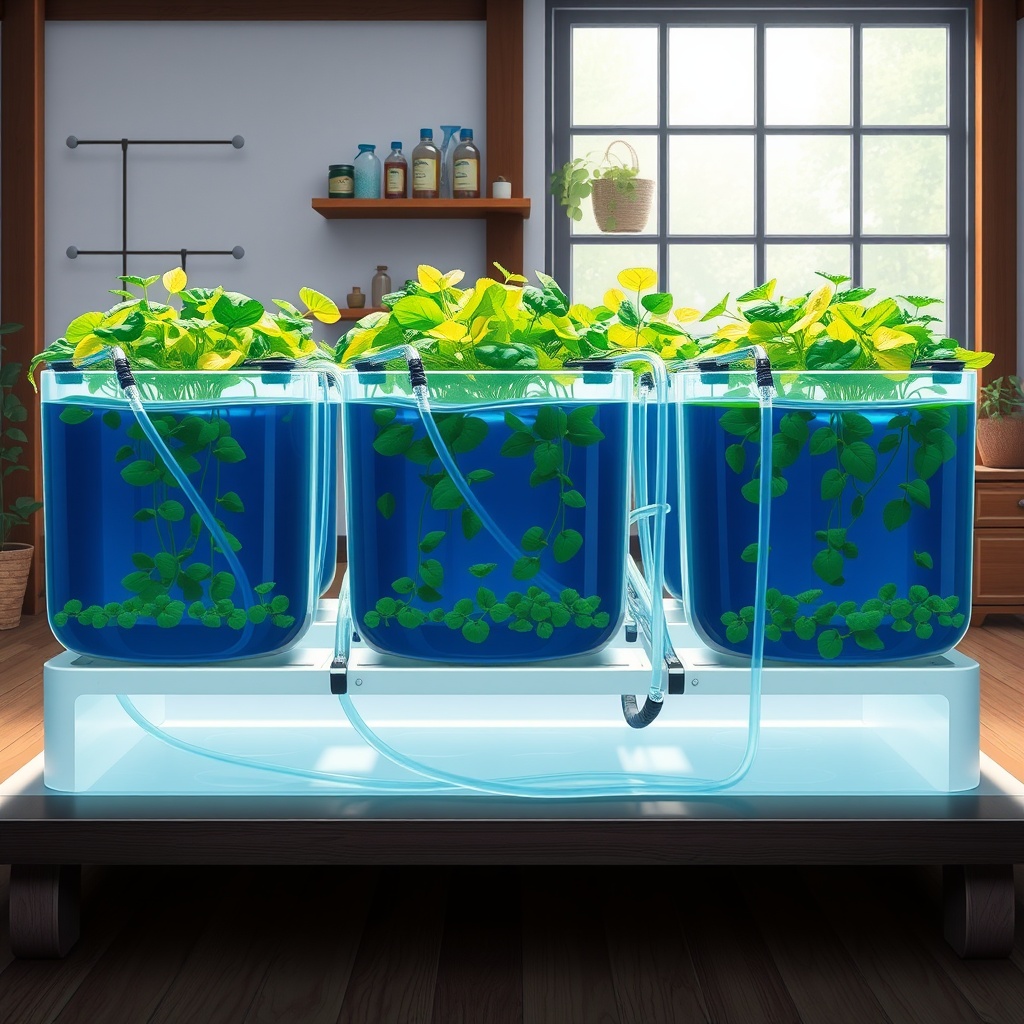
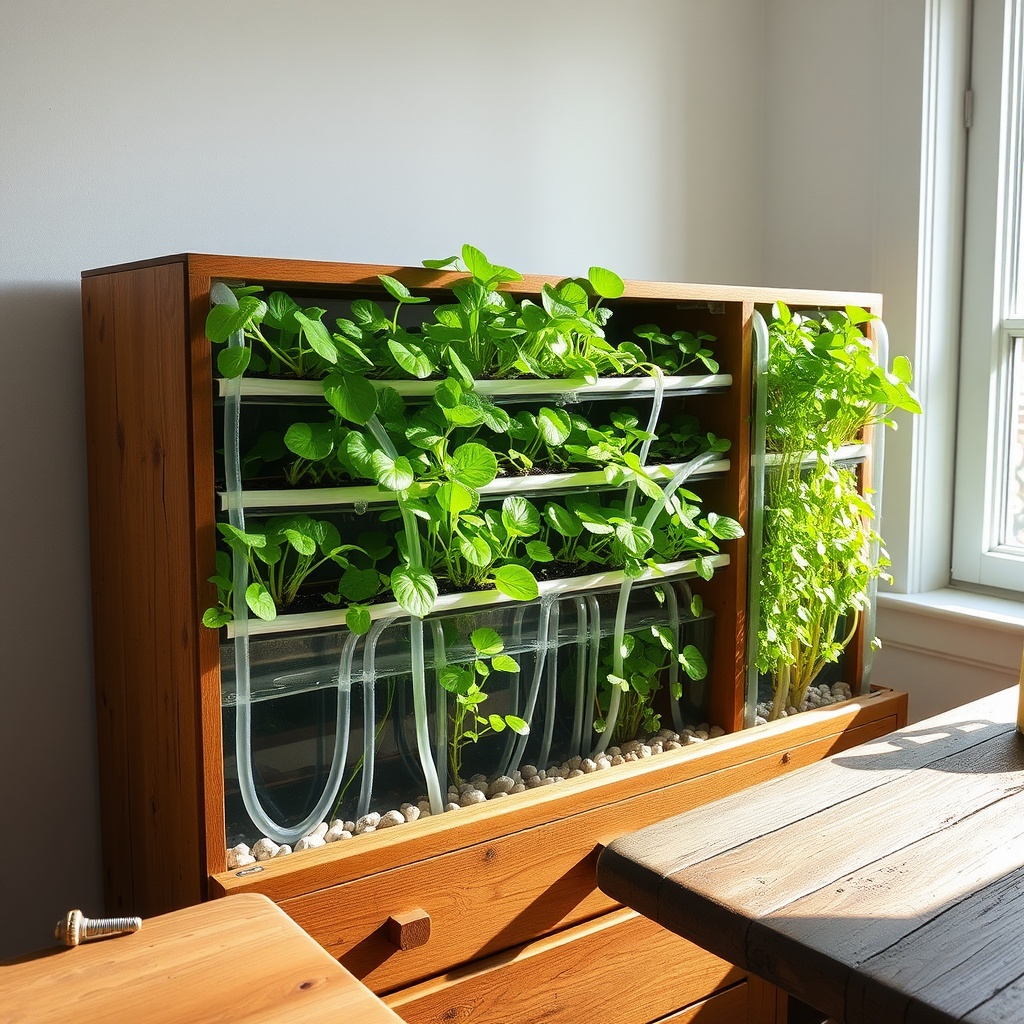
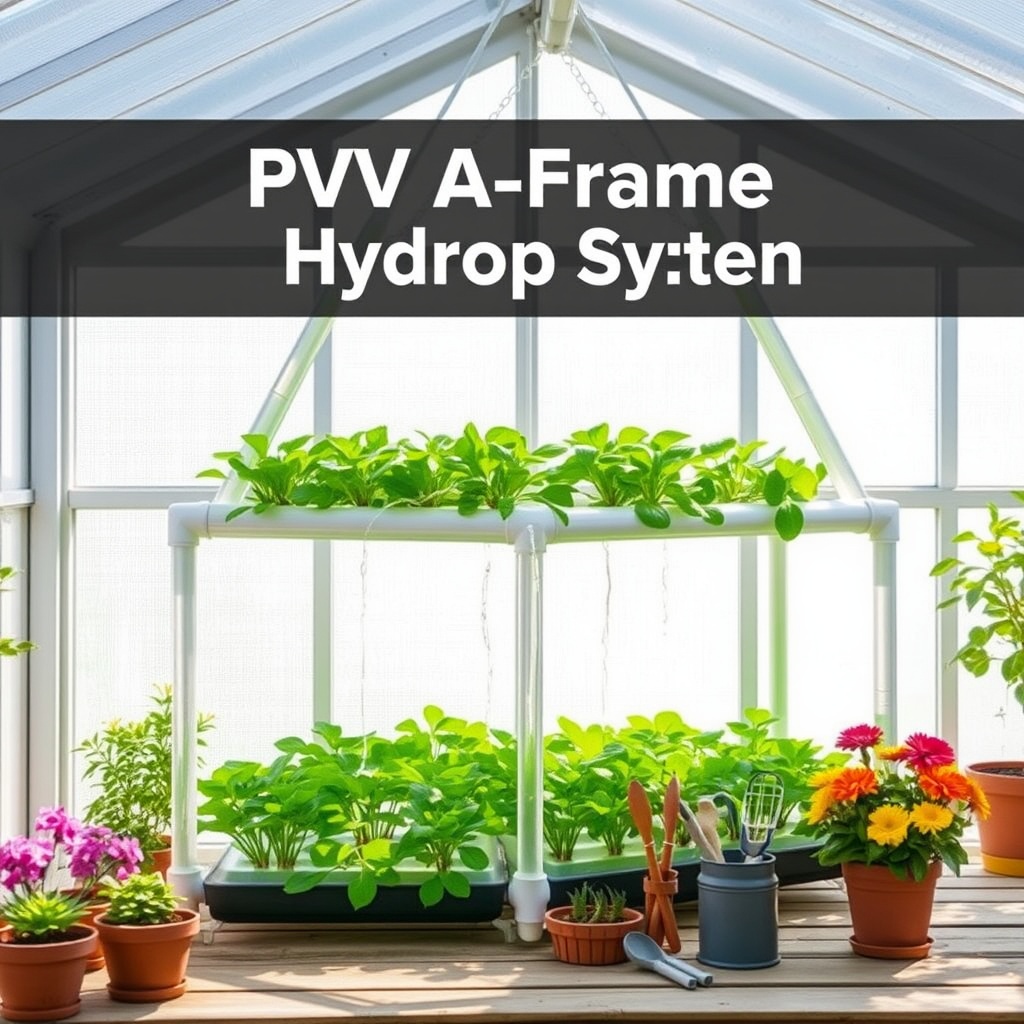
If you’ve ever dreamed of cultivating your own plants with the efficiency and speed of hydroponics, you’re in luck! A hydroponic cloner is a fantastic tool for propagating plants quickly and easily. This method not only saves you time but also increases your success rate, making it perfect for both novice and experienced gardeners. Let’s dive into how you can assemble a DIY hydroponic cloner right in your home!
Gathering Your Essential Components
Before you embark on your hydroponic journey, it’s crucial to gather the necessary materials that will form the backbone of your cloner. Each component plays a vital role in ensuring that your cuttings thrive and reach their full potential. Here’s what you’ll need:
- Container: A plastic storage bin or a sturdy bucket.
- Net Cups: Small pots that will hold your cuttings.
- Pump: An air pump or a water pump to oxygenate and circulate the nutrient solution.
- Air Stones: These help distribute the oxygen evenly throughout the water.
- Hydroponic Nutrient Solution: Essential for healthy plant growth.
- Razor Blade or Scissors: For making clean cuts on your plant cuttings.
Step-by-Step Assembly Guide
Now that you have your materials gathered, let’s walk through the assembly process. This step-by-step guide will help you put everything together seamlessly, ensuring that your cuttings have the best chance to flourish.
- Prepare the Container: Drill holes in the lid of your container to fit the net cups snugly.
- Install the Pump: Place your air or water pump inside the container, ensuring that it is securely attached and has access to the air or water.
- Fill with Nutrient Solution: Mix your hydroponic nutrient solution according to the manufacturer’s instructions and fill the container.
- Insert the Air Stones: Place air stones at the bottom of the container to ensure even oxygen distribution.
- Set the Cuttings: Take your plant cuttings, dip the ends in rooting hormone, and place them into the net cups before inserting them into the holes you drilled.
Maximizing Your Cloner’s Potential
Once your DIY hydroponic cloner is up and running, there are several strategies you can employ to maximize its effectiveness. From monitoring water levels to ensuring the right light conditions, these tips will help you achieve the best results.
- Maintain Temperature: Keep your cloner in a warm area but out of direct sunlight to avoid overheating.
- Monitor pH Levels: A pH level between 5.5 and 6.5 is ideal for most plants.
- Change the Nutrient Solution Regularly: To prevent algae growth and ensure nutrients are fresh, change the solution every 1-2 weeks.


