Why Choose a Dutch Bucket System?
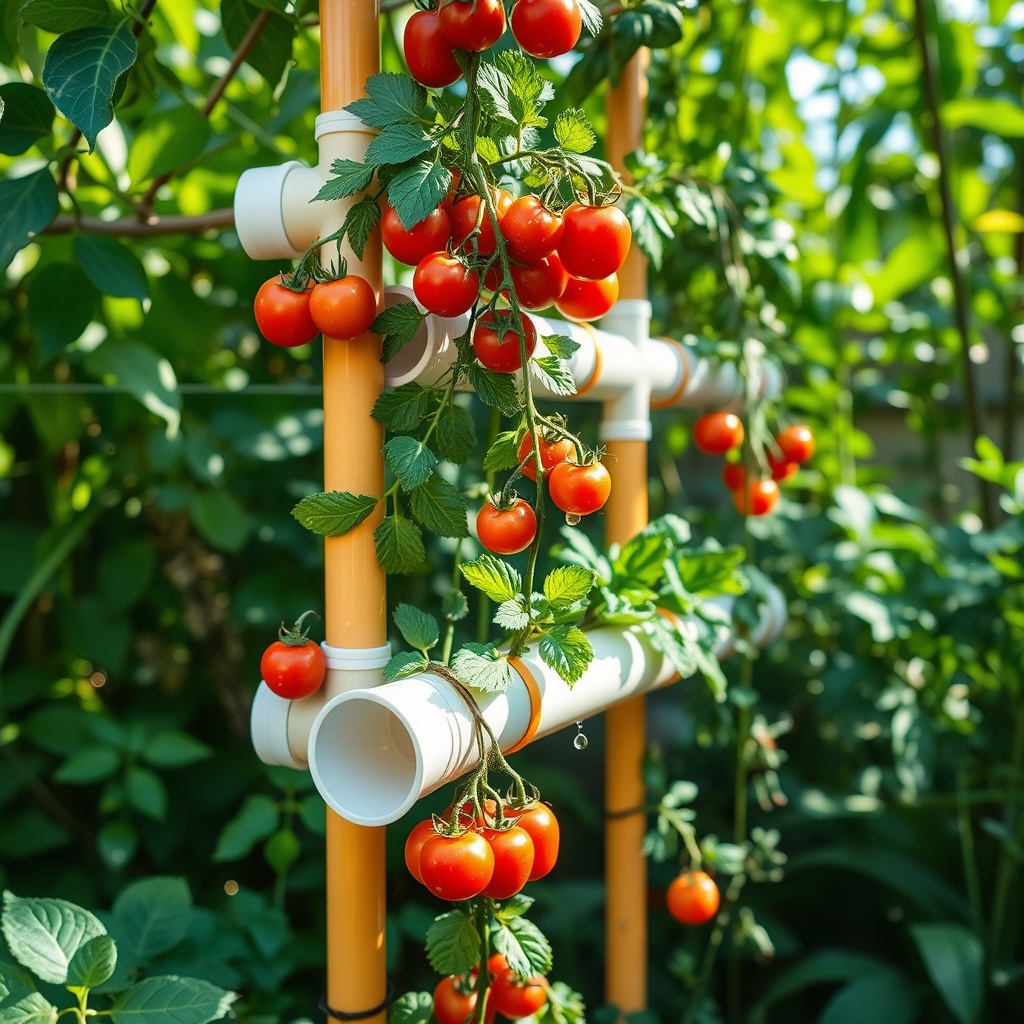
If you’re looking to elevate your gardening game, a Dutch Bucket hydroponic system could be the answer. This innovative method combines the efficiency of hydroponics with the flexibility of traditional gardening. It allows you to grow a variety of crops—think tomatoes, peppers, or even strawberries—without the need for soil. This system is particularly appealing for those who have limited outdoor space or want to extend their growing season.
With its modular design, a Dutch Bucket system can be easily tailored to fit your unique gardening needs. It’s an excellent choice for both novice gardeners and seasoned horticulturists, offering a balance of simplicity and scalability.
The Essential Components of Your Dutch Bucket System
Before diving into assembly, it’s important to know what you’ll need. Below is a comprehensive list of the essential components for creating your own DIY Dutch Bucket System. Gather these materials to ensure a smooth assembly process:
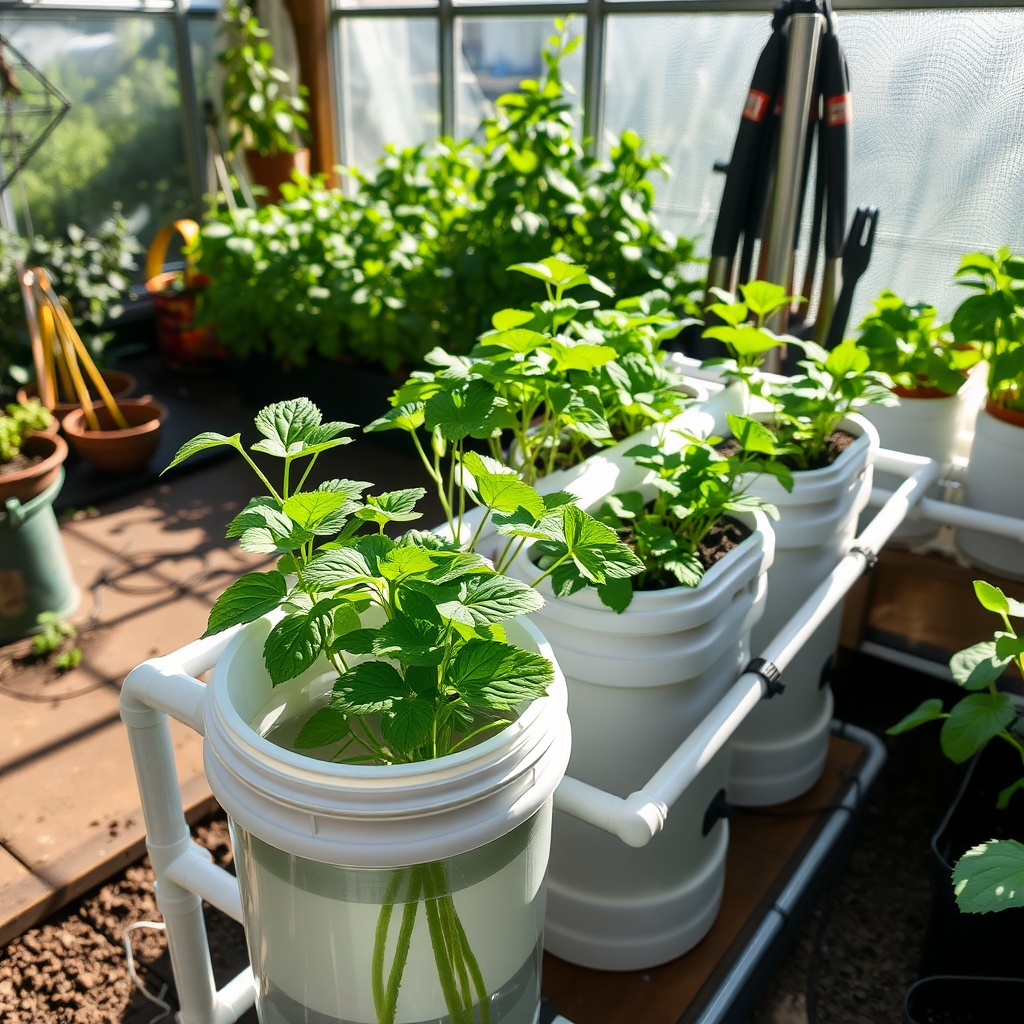
- Dutch Buckets: Choose food-grade plastic buckets with lids.
- Reservoir: A large container to hold nutrient solution.
- Water Pump: For circulating the nutrient solution.
- Drip Irrigation Tubing: To distribute nutrients to each bucket.
- Net Pots: To support your plants while allowing roots to grow freely.
- Nutrient Solution: Specialized fertilizers for hydroponic systems.
- Growing Medium: Options like coconut coir, perlite, or rock wool.
Step-by-Step Assembly for Success
Assembling your own Dutch Bucket hydroponic system can be a rewarding project. Follow these steps to ensure your setup is efficient and effective:
- Start by preparing your buckets. Drill a hole about 2 inches from the bottom of each bucket for the drain tube. This will allow excess nutrient solution to flow back into the reservoir.
- Install the net pots on top of each bucket lid. Fill them with your chosen growing medium and plant your seedlings.
- Connect the buckets in a row using the drip irrigation tubing. Ensure that each bucket has a steady supply of nutrient solution.
- Set up your water reservoir and pump. Fill the reservoir with nutrient solution and connect the pump to the tubing to circulate the solution to your buckets.
- Finally, monitor and adjust the pH and nutrient levels regularly to ensure optimal plant growth.
By following these steps, you’ll have a fully functional DIY Dutch Bucket hydroponic system ready to provide fresh produce year-round!


