Why Choose Hydroponics?
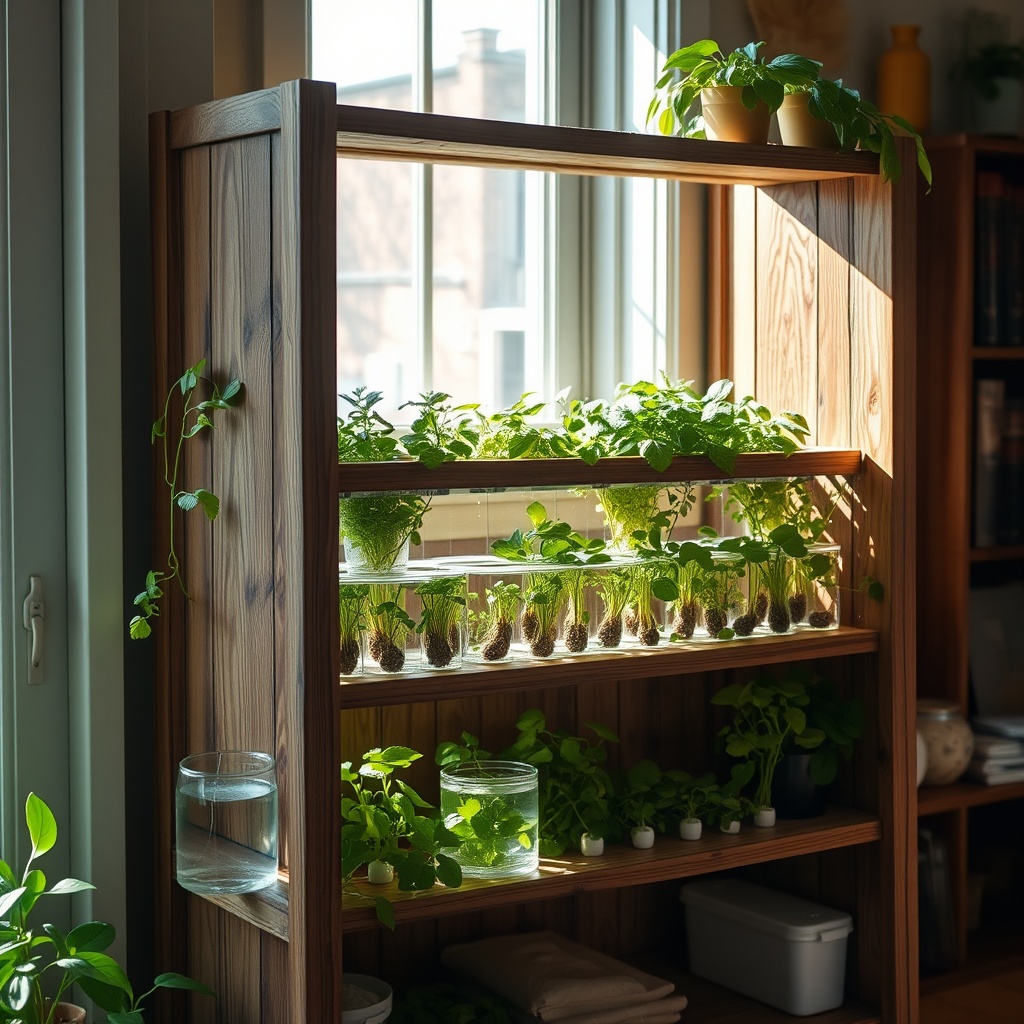
In today’s fast-paced world, many people are looking for ways to reconnect with nature and grow their own food. Hydroponics offers a sustainable solution that requires minimal soil and maximizes space, making it perfect for urban dwellers. Imagine cultivating fresh herbs and vegetables right in your living room, using a repurposed bookshelf as your growing station. This guide will take you through the process of creating your very own hydroponic system using an old bookshelf, transforming it into a vertical garden.
Gathering Your Supplies
Before diving into the construction of your hydroponic system, it’s essential to gather all the necessary materials. This will not only streamline your process but also ensure that you have everything at your fingertips when the creative juices start flowing.
- Old Bookshelf: A sturdy base for your hydroponic setup.
- Containers: Plastic bins or pots to hold your plants.
- Growing Medium: Options like clay pellets, rock wool, or coconut coir.
- Nutrient Solution: Liquid fertilizer specifically designed for hydroponics.
- Water Pump: To circulate the nutrient solution.
- Grow Lights: If natural light is limited.
With these supplies in hand, you’re well on your way to constructing a hydroponic masterpiece.
Step-by-Step Construction
Now that you have your supplies, it’s time to put them together. The process is straightforward and can be completed in a few hours. Follow these steps to create a functional hydroponic system from your old bookshelf:
- 1. Prepare the Bookshelf: Clean it thoroughly and remove any shelves that may obstruct your setup.
- 2. Install the Containers: Securely place your containers on each shelf. Ensure they are stable and can hold the weight of the growing medium and plants.
- 3. Add the Growing Medium: Fill each container with your chosen growing medium.
- 4. Set Up the Water Pump: Place it in the bottom container, ensuring it can reach all the others via tubing.
- 5. Mix the Nutrient Solution: Follow the instructions on your fertilizer to achieve optimal plant growth.
- 6. Plant Your Seeds: Sow seeds or transplant seedlings into the containers.
- 7. Light it Up: If using grow lights, position them to provide adequate lighting for the plants.
With the construction complete, all that’s left is to monitor your plants as they grow and flourish in their new hydroponic home!


